Tips for Taking A Great Item Photo with your Phone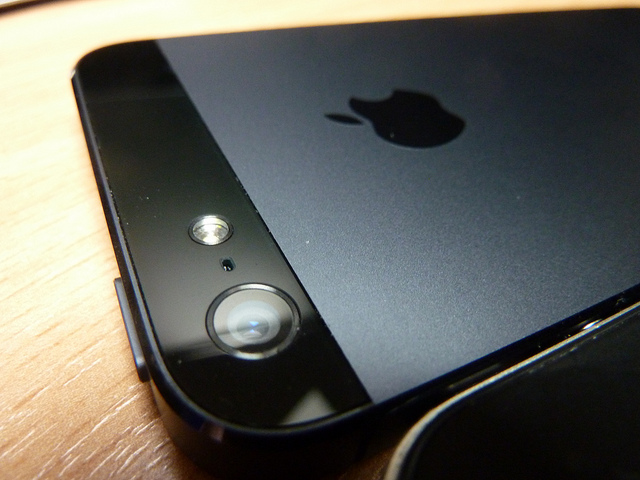
We’ve all had this problem. You think you’ve found a great deal, maybe a new phone or the perfect handbag. But you open the ad and the photos are blurry. Or too dark. Or there are no photos at all.
When selling on 5miles taking the perfect photo is very important. Every day buyers near you are flicking through images of items posted every minute. How do you make yours stand out? Keep reading to see these ten tips for taking amazing photos.
1. Get your item ready
The first step in taking a great photo is to make your item look its best.
So you’ve been walking around your basement or garage with the 5miles app, looking for things to sell. Take a moment, wipe the dust off, and give it a good scrub.
This is also a perfect time to check the item’s condition. Make sure it still works and take note of any minor damage so you can describe it properly.
2. Put the item in its natural habitat—try wearing it

I know, you just had to have that new blue dress. And now comes the time to sell the old one.
Don’t just let it hang lifeless from its hanger. Consider wearing it for your main image. Modeling it will help buyers judge its style, its length, and its fit. It just looks so much better on a real person.
If you’re shy, there is no need to show your face. Have a friend help you if you haven’t mastered the art of the mirror selfie.
3. Clean up that background
Nobody wants to see your messy dorm room. Or a garage that hasn’t fit your car since forever.
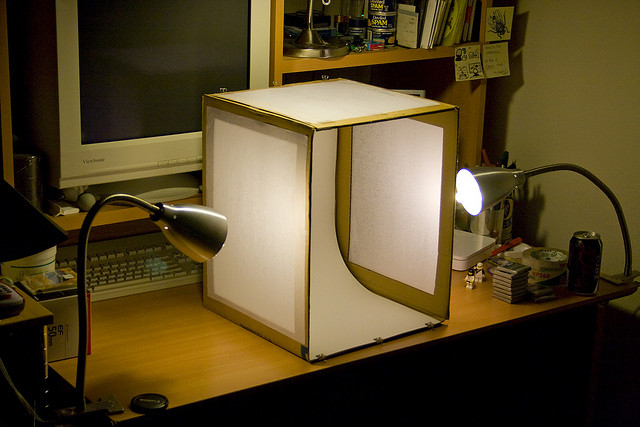
Small items look best on a solid background. White is perfect. A piece of paper or white cloth with a shallow curve gives the effect of an infinite white background for your item to sit on.
By the way, your mom told us to tell you to clean your room. How about selling some of that clutter on 5miles?
4. Find the perfect light
The biggest problem with most photos is the lighting. Too little of it and the item is too dark. Too much and it reflects like a mirror. And the wrong kind of light just makes your colors look, well, wrong.
The best light is natural sunlight. So if you can, try to take your photo in the middle of the day near a window. Importantly, you’re going to want that light to come from behind the camera or from the side.
If you can’t get natural light, use a lamp to shine light directly on your item. Better still, use more than one, it helps light that great pair of shoes from all sides and prevents ugly shadows.
If you are a 5miles selling ninja you might want to set up a light tent with lamps and a white background all ready, like the one pictured above. Then you are always ready to take the perfect shot.
5. Try using a better camera app
The stock apps gain more features with each release, but nothing beats the quality and control of these two paid apps. Both will let you adjust the focus, exposure, white balance, color, and let you do touch ups after taking your shot.
One great feature is a sound notification letting you know when your hands aren’t steady enough for a clear picture.
iPhone: Camera+ ($3)
Android: Camera ZOOM FX Premium ($3)
6. Get your phone ready
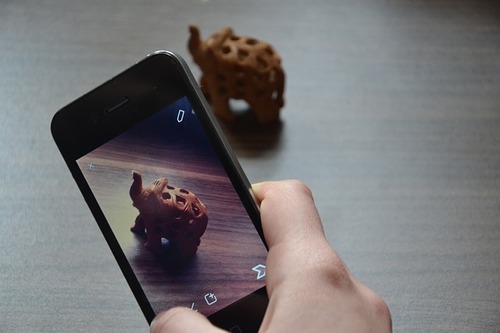
Just like you took the time to show your item some love, time to spread that love to your camera.
When is the last time you cleaned the lens? Most likely the answer is “Never.” So take a moment to give it a wipe too.
And whether you’re using the stock camera app or a paid one, there are some settings you can play with to make sure you are taking the best photo possible.
- Turn off the flash. Even on high-end cameras the built-in flash is bad. And on your phone it is even worse.
- Use the white balance function to adjust the color. Click first tap on white balance, then on your white background.
- If you still find that the preview looks a little too light or dark, use the exposure feature. With the new iOS 8 Camera app you can do this by focusing on your item then sliding your finger up or down to brighten or darken it.
7. Make sure your images are clear
Once you’ve got your lighting perfected, getting that clear shot should be a piece of cake.
While autofocus on our phones gets better all the time, sometimes it gets a little confused. Its great for when there is a nice face in the middle of the shot. But that flat screen TV filling the frame might give it trouble
Try giving your item a tap on the phone’s screen. Everything should become clear.
8. Steady your phone for the photo
You’ve fixed the light. You’ve focused. But things are still a blur. How many coffees have you had today? Are your hands steady like a rock?
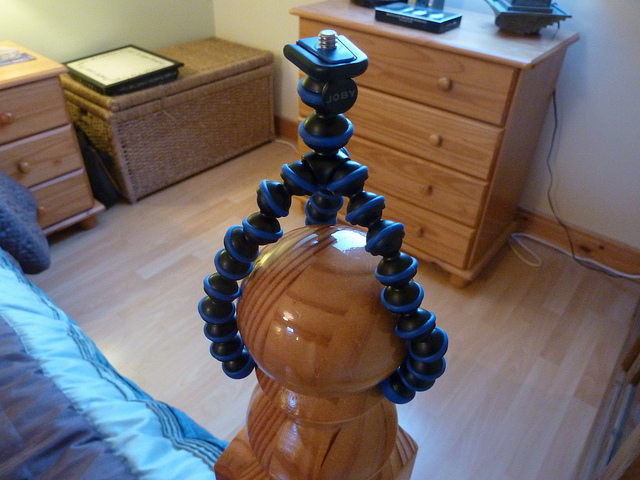
Prop up your camera on a stable surface before taking the picture. A cell phone compatible tripod works best. We’re fans of the go-anywhere, do-anything supercool GorillaPod seen above.
If you don’t have a tripod, you can try putting your phone on a table or against pile of books. Using the timer helps too.
9. Get up close and personal
Not only is it a 5miles rule, but it is just good practice: the first image has to show your item completely.
So get your item as close to the edge of the photo as you can, so we can see the overall condition of the item.
But stay away from that digital zoom. Move your feet and get closer.
10. After that, show us what you got from multiple angles
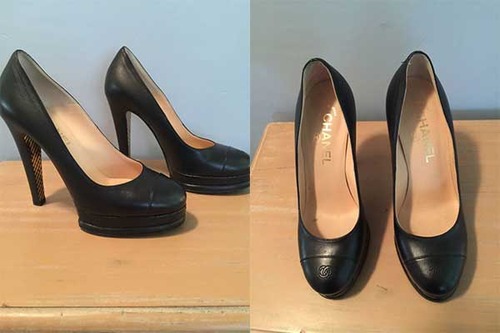
When you’re main image is perfect it is time for your inner photographer to shine. For the rest of your photos, show off your item’s good side with different angles.
Use classic photography tips like the rule of thirds to foucs on aspects you want buyers to see. You can turn on the grid setting to help you with this.
Also show any damage or cosmetic issues so buyers can make an informed purchase. If there is more than just regular wear and tear, make sure you highlight it
That’s it! You should be now ready to take photos that stand out from the pack.
Got a tip we missed? Let us know how you take amazing photos. Find us on Facebook or Twitter and give us a shout. You can also reach us by email at hello@5milesapp.com

